
Have you ever turned on your RV’s tap only to be greeted by an unpleasant odor? It’s an all-too-common issue that many RV owners face, yet it remains one of the most daunting challenges to resolve. Smelly water in an RV can turn a relaxing trip into a less-than-enjoyable experience.
The problem often stems from bacterial buildup in the water system, which is exacerbated by stagnant water. One effective way to combat this is by using a water tank sanitizer, which can eliminate harmful bacteria and neutralize odors. According to recent studies, consistently sanitizing your RV’s water system can reduce odor-related complaints by up to 90%, making it a crucial step for maintaining fresh-smelling water.
- Identify the source of the odor.
- Flush the entire water system.
- Clean and sanitize the water tank.
- Replace old water filters and hoses.
- Use a baking soda mix to further clean the system.
- Maintain regular water system treatments.

How to Get Rid of Smelly Water in RV
First, identify the source of the smell. It could be bacterial growth, sulfur in the water, or stagnant water in the tank. Check all possible sources to pinpoint the exact cause. This step is crucial for choosing the correct method to eliminate the odor. Sometimes, it’s a combination of factors.
Next, a complete flush of the water system should be performed. Drain all the water from the tank and refill it with fresh, clean water. This process helps eliminate any lingering contaminants. Make sure to run the water through all faucets and showerheads to clear out the plumbing. This step alone can often get rid of mild odors.
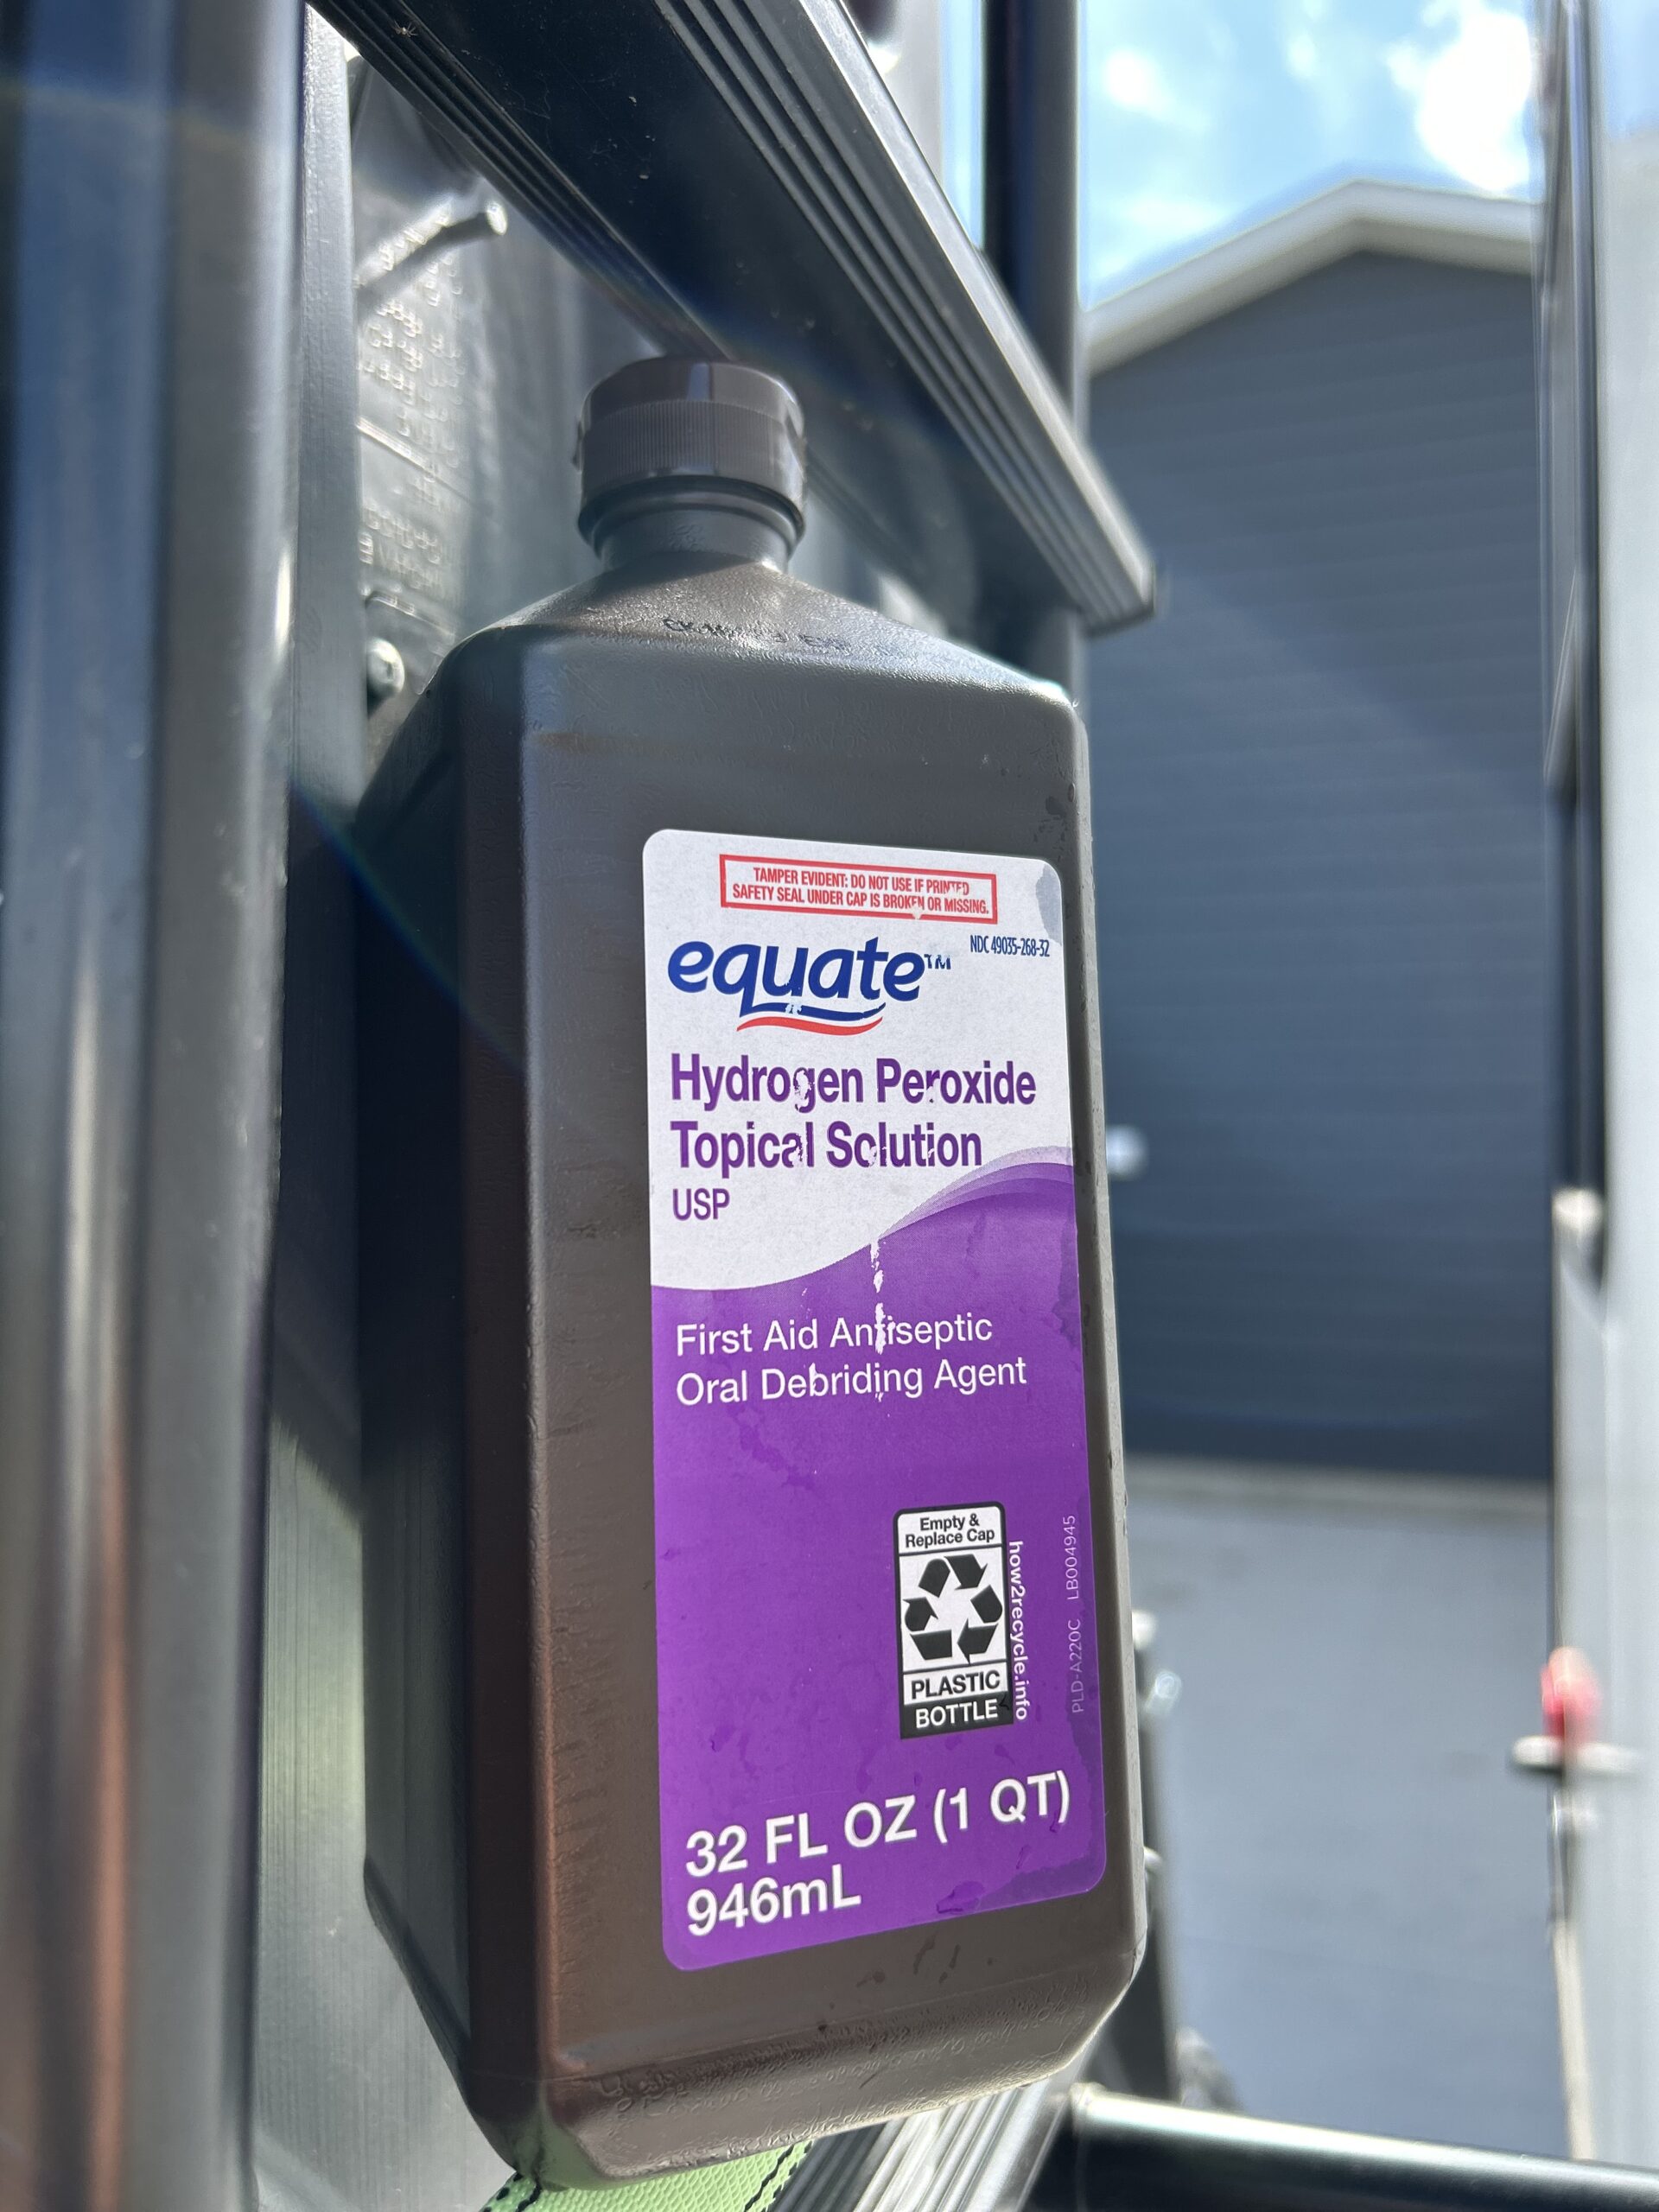
After flushing, sanitize the water tank to kill any bacteria or mold. You can use a commercial sanitizer or a DIY solution like a mix of bleach and water. Fill the tank with the sanitizing solution and let it sit for several hours. Then, drain and rinse the system thoroughly. Repeat the process if the smell persists.
Prevent future issues by maintaining regular treatments and using quality water filters. Investing in a good filtration system can make a significant difference. Regularly clean and replace any filters in your RV. Maintain a habit of sanitizing the water tank periodically. This proactive approach helps keep your water fresh and odor-free.
¿El agua de tu autocaravana huele a huevos podridos? ¡Prueba esto!
Step 1: Identify the Source of the Odor
Begin by checking the water source itself. Often, the smell comes from the water supply, especially if it’s untreated well water. Collect a sample of the water in a clean container and smell it. This initial check helps determine if the water itself is the culprit. It’s an important step before diving deeper.
Next, inspect the water tank and plumbing system. Look for signs of mold, mildew, or bacterial growth inside the tank. Also, check the hoses and connections for any buildup or residue. It might help to use a flashlight to see into hard-to-reach areas. Cleaning these components can sometimes resolve the issue.
Don’t forget to examine the water heater. If the heater is set too low, bacteria can grow, causing a bad smell. Ensure that the thermostat is set to at least 130°F to prevent bacteria growth. If there’s sediment buildup, flushing the heater might be necessary. This is a common source of sulfur smells in water.
If you’ve checked all these areas and still can’t find the source, consider the water filters. Old or dirty filters can harbor bacteria and cause odors. Replace any old or clogged filters and see if the smell improves. Regular maintenance of filters is crucial for keeping water fresh and odor-free.
Step 2: Flush the Entire Water System
Begin by turning off the water supply. Open all the faucets and drains to empty the water tank completely. This ensures that any stagnant or contaminated water is removed. It is a simple, yet essential step in clearing odors. Leave the faucets open until all water has been drained.
Next, refill the water tank with fresh, clean water. Make sure to close all drains and faucets beforehand. Turn on the water supply and let it flow until the tank is full. This fresh water will help push any remaining contaminants out of the system. Be sure to also run the water through all faucets and showerheads.
Perform a second flush if necessary. Sometimes, a single flush isn’t enough to remove all odors or contaminants. If the smell persists, repeat the process. Draining and refilling the tank twice can often do the trick. Consistency is key to ensuring the system is thoroughly cleaned.
While flushing, consider using a water tank cleaner for added effectiveness. These products are designed to break down and eliminate residue and bacteria. Follow the specific instructions on the cleaner for best results. Using a cleaner enhances the flushing process. It ensures your water stays fresh and odor-free.
Step 3: Clean and Sanitize the Water Tank
To start, mix a sanitizing solution such as bleach and water. Typically, using a quarter cup of bleach for every 15 gallons of water works well. Pour the solution into the water tank and fill it up with clean water. This mixture will help remove any bacterial growth or residues. Ensuring the right concentration is crucial for effective sanitization.
Run the water from the tank through all the faucets and showerheads. Leave the sanitizing solution in the system for several hours. This allows the solution to fully disinfect the entire water system. Make sure to open and close each faucet multiple times. This helps ensure that the solution coats all surfaces inside the plumbing.
After letting the solution sit, drain the tank and refill it with clean water. Thoroughly rinse the system by running clean water through all the faucets and showerheads. You may need to repeat this step a few times to remove all traces of bleach. This is vital for ensuring no sanitizing solution remains in your drinking water. Proper rinsing helps maintain water safety.
For added assurance, consider using commercial tank cleaners designed specifically for RVs. These products are often more effective in breaking down stubborn residues. Follow the manufacturer’s instructions for the best results. Regular use of these cleaners can help maintain a fresh and sanitary tank. Consistent cleaning can prevent future odor issues.
Maintaining a clean tank is an ongoing process. Regular monthly cleanings can help prevent the buildup of contaminants. Always use filtered water to minimize the introduction of new impurities. Regularly inspect your tank for any signs of wear or damage. This proactive approach keeps your water system in optimal condition.
Step 4: Replace Water Filters and Hoses
Begin by turning off the water supply to your RV. This step ensures no water flows while you replace the filters and hoses. Carefully remove the old water filter by following the manufacturer’s instructions. Make sure to keep a bucket handy to catch any spills. Proper disposal of old filters prevents contamination.
Install a new water filter that suits your RV’s water system. Ensure it fits securely and correctly in the filter housing. Most RV water filters come with instructions for easy installation. Using the right filter improves water quality. Always prioritize high-quality filters for the best results.
Next, inspect all the hoses connected to your water system. Look for signs of wear, cracks, or leaks. Damaged hoses can cause contamination and reduce water pressure. Replacing old hoses can prevent these issues. Choose hoses that are durable and designed for RV use.
When installing new hoses, make sure the connections are tight to prevent leaks. Use hose clamps to secure the connections firmly. Leaks often occur at connection points, so double-check these areas. This step ensures a safe and efficient water system. Properly connected hoses maintain water flow and quality.
Regularly replacing filters and hoses is essential for maintaining an odor-free water system. Schedule replacements based on usage and manufacturer recommendations. Keep spare filters and hoses in your RV for emergencies. This proactive approach helps ensure a consistent supply of clean water. Maintenance is key to a fresh water system.
Step 5: Use Baking Soda Mix for Further Cleaning
Baking soda is a simple and effective way to clean your RV’s water system further. Start by mixing a solution of baking soda and water. Use about a quarter cup of baking soda per gallon of water. This solution helps neutralize odors. It’s an affordable and easy method to maintain clean water.
Pour the baking soda mixture into your water tank. Fill the tank with fresh water to ensure the solution is well distributed. Then, run the water through all faucets and showerheads. This step ensures that the solution reaches every part of the system. Let the mixture sit in the tank for a few hours to maximize its effectiveness.
After allowing the solution to sit, drain the tank completely. Refill it with clean water and flush it again. Make sure to run the fresh water through all faucets and showerheads. This removes any remaining baking soda solution. Proper flushing ensures no residue is left behind.
Using baking soda regularly can help keep your water system fresh. It’s a natural deodorizer that can prevent bad smells from forming. Consider adding this step to your regular maintenance schedule. Not only does it keep your water clean, but it also extends the life of your tank. Regular care leads to fewer odor problems.
Step 6: Maintain Regular Water System Treatments
Regular maintenance is crucial for keeping your RV’s water system odor-free. Schedule monthly cleanings to prevent any buildup of bacteria or mold. Consistent care reduces the chance of unpleasant smells. It also extends the lifespan of your water system components. A little effort goes a long way.
Consider using commercial water treatment products designed for RVs. These treatments can help remove bacteria and improve water quality. Follow the instructions on the product label for best results. Regular use ensures that your water stays fresh and clean. It’s an easy way to maintain a healthy water system.
Utilize a checklist to keep track of your maintenance tasks. Include items such as flushing the tank, replacing filters, and inspecting hoses. This approach helps ensure you don’t miss any critical steps. Staying organized simplifies the process and keeps everything running smoothly. Maintenance becomes routine with a checklist.
- Flush the tank monthly
- Sanitize every few months
- Replace filters regularly
- Inspect hoses for wear and tear
- Use commercial treatments as needed
Minding seasonal changes can also impact maintenance needs. For instance, if you’re storing your RV for winter, ensure it’s properly winterized to avoid damage’. Similarly, during summer, inspect more frequently due to higher usage rates’. Adapting based on use patterns prevents problems before they start.A proactive stance keeps unwanted odors at bay.
Causes of Smelly Water in RVs
One primary cause of smelly water in RVs is bacterial growth. When water sits in the tank for too long, bacteria can multiply. This leads to unpleasant odors and potential health risks. Regularly using the water system helps prevent stagnation. Bacteria thrive in stagnant environments, making frequent use crucial.
Sulfur in water is another common culprit. This can happen especially if you use well water, which often has high sulfur content. Sulfur smells like rotten eggs and can permeate the entire water system. Using a quality water filter can help remove sulfur from the water. Regular testing of the water source can also alert you to this issue.
Contaminated water sources can introduce unwanted smells. If the water source isn’t clean, it affects the entire system. Always use trusted water sources to fill your RV’s tank. Contamination can come from various places, including old, rusty pipes. Being selective about your water source makes a big difference.
Mold and mildew buildup inside the tank is another cause. These fungi thrive in moist, dark conditions. Regularly cleaning and sanitizing the tank prevents their growth. Mold not only causes a bad smell but can also affect water quality. Keeping the tank clean is essential for avoiding these issues.
Poor maintenance of water filters and hoses can also contribute to odor. Old or clogged filters can harbor bacteria and mold. Regularly replacing filters and inspecting hoses is crucial. Ensuring all components are in good condition keeps the water fresh. Maintenance plays a vital role in preventing smelly water.
The Importance of Regular Water System Maintenance in RVs
Regular water system maintenance in RVs is essential for health and safety. Keeping the water clean and fresh prevents waterborne illnesses. Bacteria and mold can proliferate in neglected systems. Regular cleaning and sanitizing drastically reduce these risks. It ensures safe water for drinking and cooking.
Maintaining the water system also prolongs the life of your RV’s components. Filters, hoses, and tanks last longer with proper care. This reduces the need for costly replacements and repairs. Consistent maintenance saves money in the long run. It’s a small investment for extended component lifespan.
Frequent inspections can catch minor issues before they become major problems. For instance, a small leak today could turn into significant water damage tomorrow. Regularly checking and fixing minor issues helps avoid such scenarios. This proactive approach is crucial for maintaining the integrity of your RV. It’s easier to repair something small than to deal with extensive damage.
Another benefit is improved water quality. Regularly treated and filtered water tastes and smells better. You’re more likely to use and drink the water if it’s clean and pleasant. This increases hydration and overall well-being during trips. Good water quality enhances the overall RV experience.
Maintenance also keeps the system running efficiently. Clean filters and hoses ensure proper water pressure and flow. This makes daily tasks like showering and washing dishes more enjoyable. An efficient system uses less water and energy. Thus, it’s beneficial for both convenience and resource conservation.
DIY Solutions Vs. Professional Services for Smelly Water
Deciding whether to tackle smelly water in your RV with DIY solutions or professional services can be tricky. DIY methods are often less costly and can be done at your convenience. Simple solutions, like using baking soda or commercial cleaners, are effective and easy to manage. These methods allow you to maintain control over your water system. However, they may not always be sufficient for more complex issues.
Hiring a professional service, on the other hand, ensures a thorough and expert-level cleaning. Professionals have specialized tools and products not readily available to the general public. They can diagnose and fix underlying problems that DIY solutions might miss. This option offers peace of mind and can extend the lifespan of your water system. Though more expensive, the investment often pays off in the long run.
Consider your own skills and experience when choosing between DIY and professional help. If you’re comfortable handling tools and following instructions, DIY might suit you well. There are plenty of resources available to guide you through the process. But for those who’d rather not take the risk, professionals can offer reliable solutions. Your comfort and confidence in handling the issue should guide your decision.
- Cost: DIY is cheaper, professional services can be pricey.
- Effectiveness: Professionals may offer more thorough solutions.
- Convenience: DIY at your own pace, professionals handle all the work.
- Expertise: Professionals bring specialized knowledge and tools.
Ultimately, each method has its pros and cons. DIY methods can be a quick fix but might not address deeper problems. Professional services provide comprehensive care but come at a higher cost. Evaluate your needs and the severity of the odor issue. Combining both approaches might sometimes be the best solution.
Frequently Asked Questions
Here are some common questions about getting rid of smelly water in RVs. These answers will help you maintain a fresh and clean water system in your RV.
Your RV water can smell bad due to bacterial growth, sulfur in the water, or mold in the tank. Stagnant water provides an ideal environment for bacteria to thrive, causing foul odors. Using well water with high sulfur content can also introduce rotten egg smells into your RV water system.
By regularly using and flushing your water system, you can help prevent these conditions. It’s also important to use quality filters and clean the tank frequently. Identifying and addressing the source of the smell requires a thorough inspection of your water supply, tank, and plumbing.
Sanitizing your RV water tank at least once every six months is generally recommended. However, if you use your RV frequently or notice any unusual smells, more frequent sanitization may be necessary. Regular cleaning helps prevent bacteria and mold buildup, ensuring a fresh water supply.
Using a bleach and water solution is an effective way to sanitize your tank. Make sure to follow up with a thorough flush of clean water to remove any remaining sanitizing solution. Consistent sanitization can greatly improve the quality of your RV’s water.
Yes, vinegar is a natural cleaning agent that can help remove buildup and neutralize odors in your RV water system. Mix a solution of vinegar and water, then fill your tank and let it sit for a few hours before flushing it out with clean water. This method is a safe and eco-friendly alternative to chemical cleaners.
Using vinegar regularly can help maintain a clean and fresh water system in your RV. It’s important to rinse out the tank thoroughly after using vinegar to ensure no residual taste or smell. Many RV owners find vinegar to be an effective and affordable option.
The type of water filter you use depends on your specific needs and water quality. A carbon filter is excellent for removing chlorine and improving taste, while a sediment filter can trap dirt and particulates. Reverse osmosis systems provide comprehensive filtration but are more complex and costly.
Consider your water source and what contaminants you need to remove when choosing a filter. Regularly replacing the filter is also crucial for maintaining its effectiveness. Installation and maintenance guides can provide additional support in selecting the best filter for your RV.
Yes, smelly water in your RV can indicate the presence of harmful bacteria or chemicals. Drinking contaminated water can lead to illnesses and other health issues. It’s important to address the root cause of the smell to ensure your water is safe.
Regular maintenance, proper filtration, and sanitizing your water tank are key steps in preventing harmful contamination. If you’re unsure about the safety of your water, consider getting it tested by a professional. Maintaining a clean and odor-free water system is essential for your health and well-being.
STINKY FRESH WATER IN YOUR RV?
Conclusion
Maintaining a clean water system in your RV is essential for health and enjoyment. Regular sanitization, proper filtration, and routine inspections help prevent odors and contamination. These steps ensure your travels are comfortable and worry-free.
Both DIY solutions and professional services offer effective ways to keep your water fresh. By staying proactive and addressing issues early, you can extend the life of your water system. Clean water enhances the overall RV experience, making every trip more pleasant.